


Bookbinding 101: pocket notebooks
A satisfying project for beginners. No glue required.

I’ve been dabbling in bookbinding for a number of years now. In fact, after finishing my undergrad and not knowing what to do next, I very nearly moved out to Boston to attend the 2-year bookbinding program at the North Bennet St School. It would have been fun, and from time to time I wonder how drastically different my life would be had I gone.
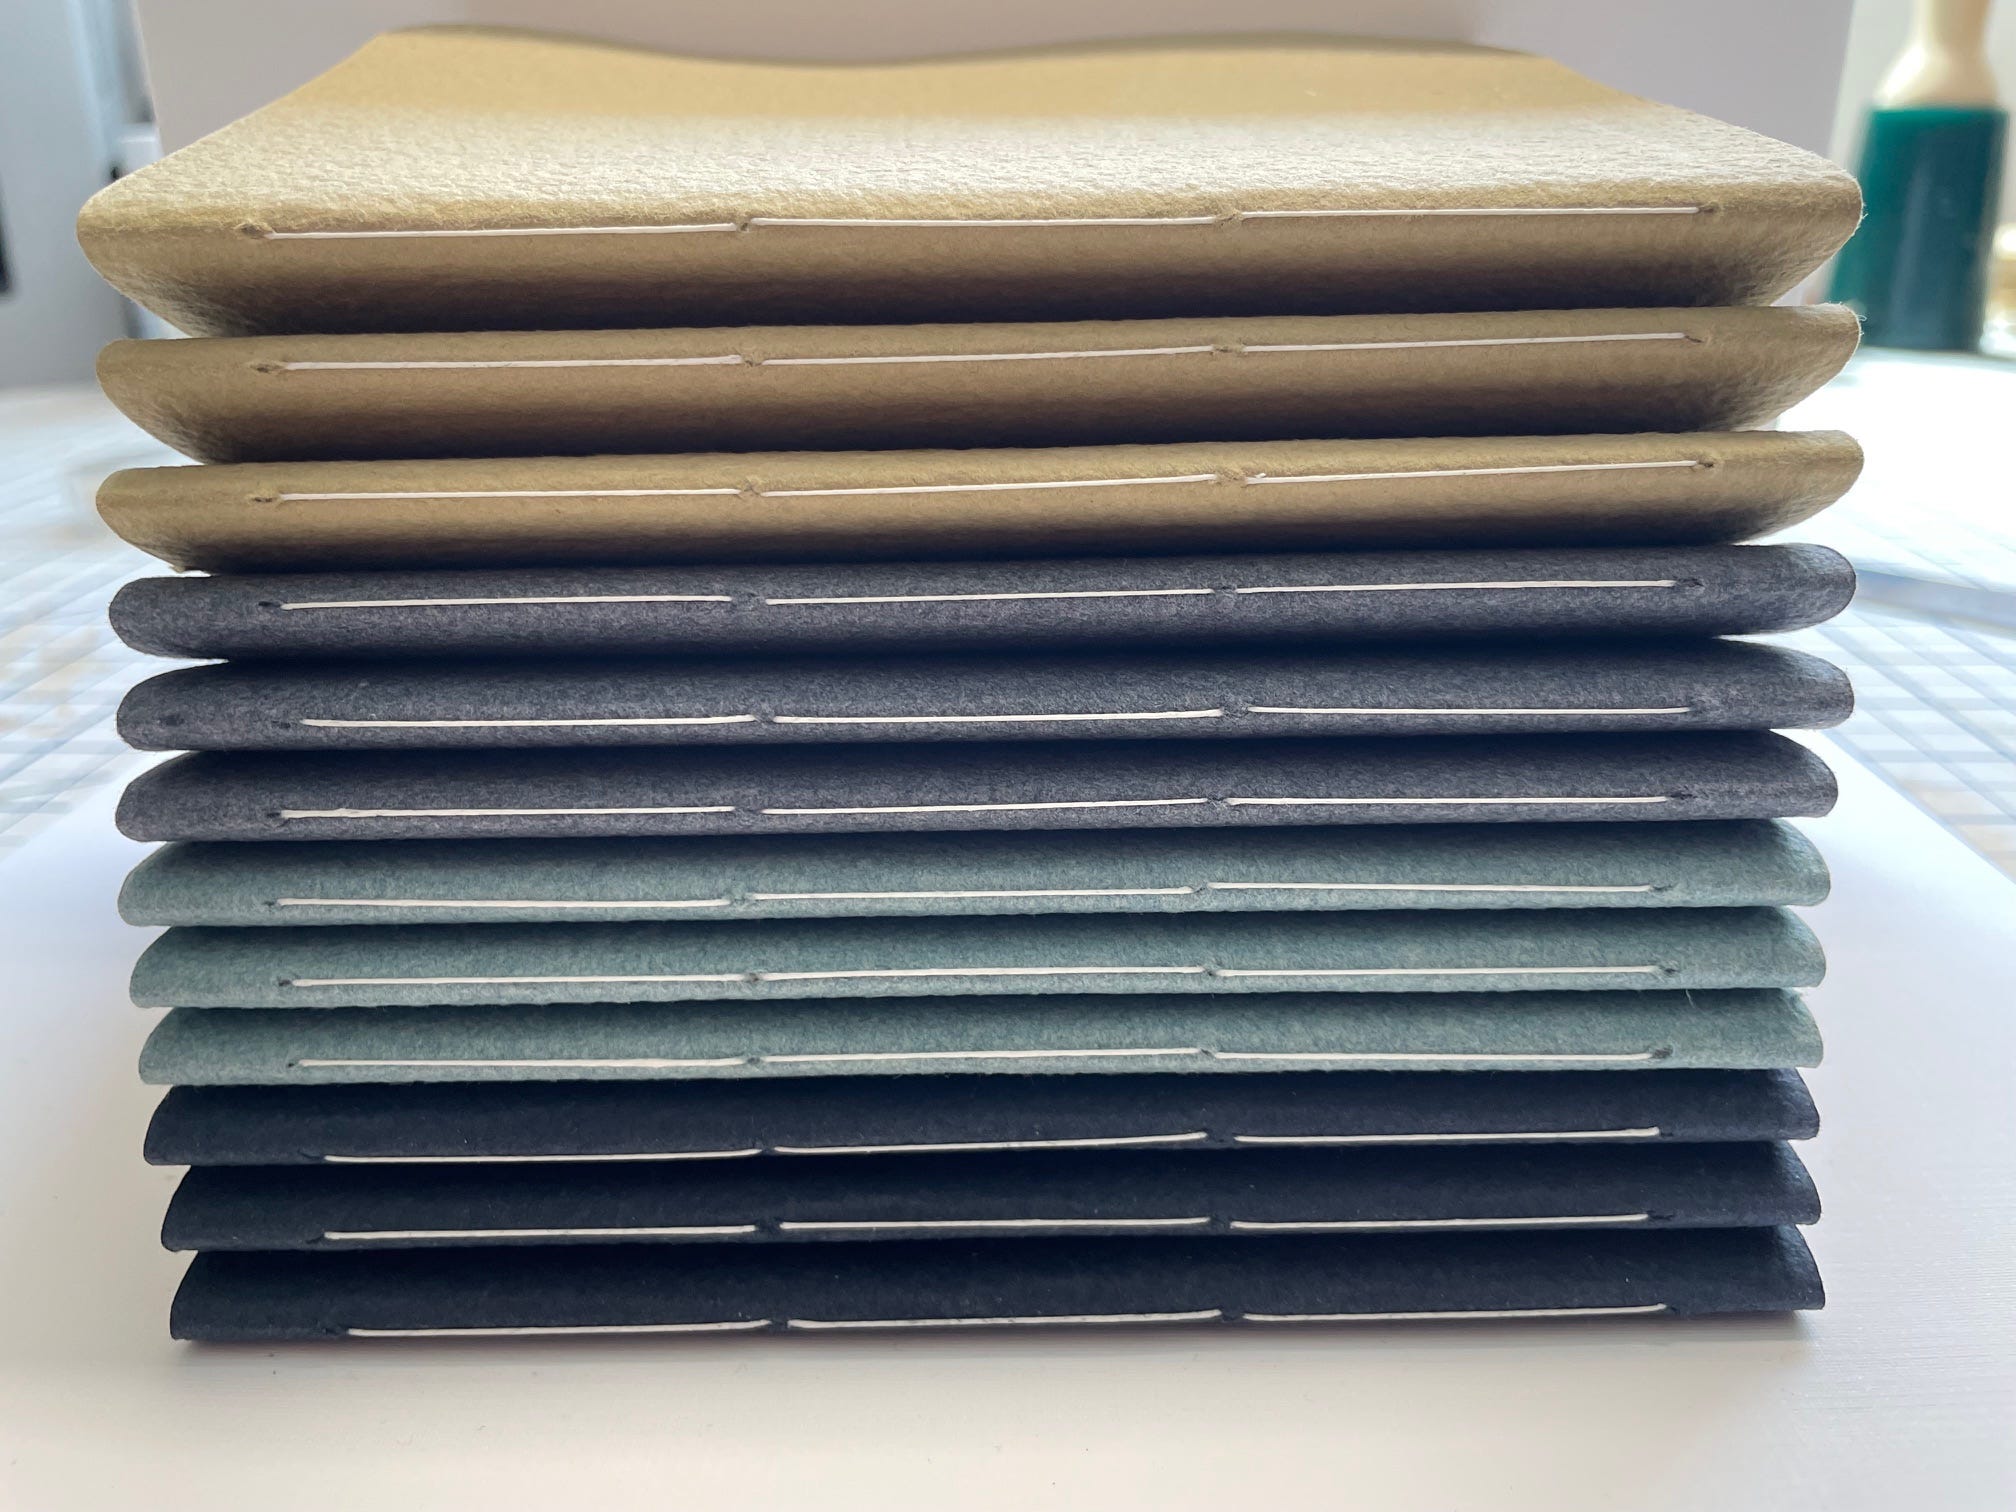
So, instead, once in a while I will make a book for myself or as a gift. Most recently, I made some notebooks.
I had a set of field-note style notebooks, but I filled them up. Instead of buying more, I bought some of my favorite book-cover paper and made some. Here’s how I did it:
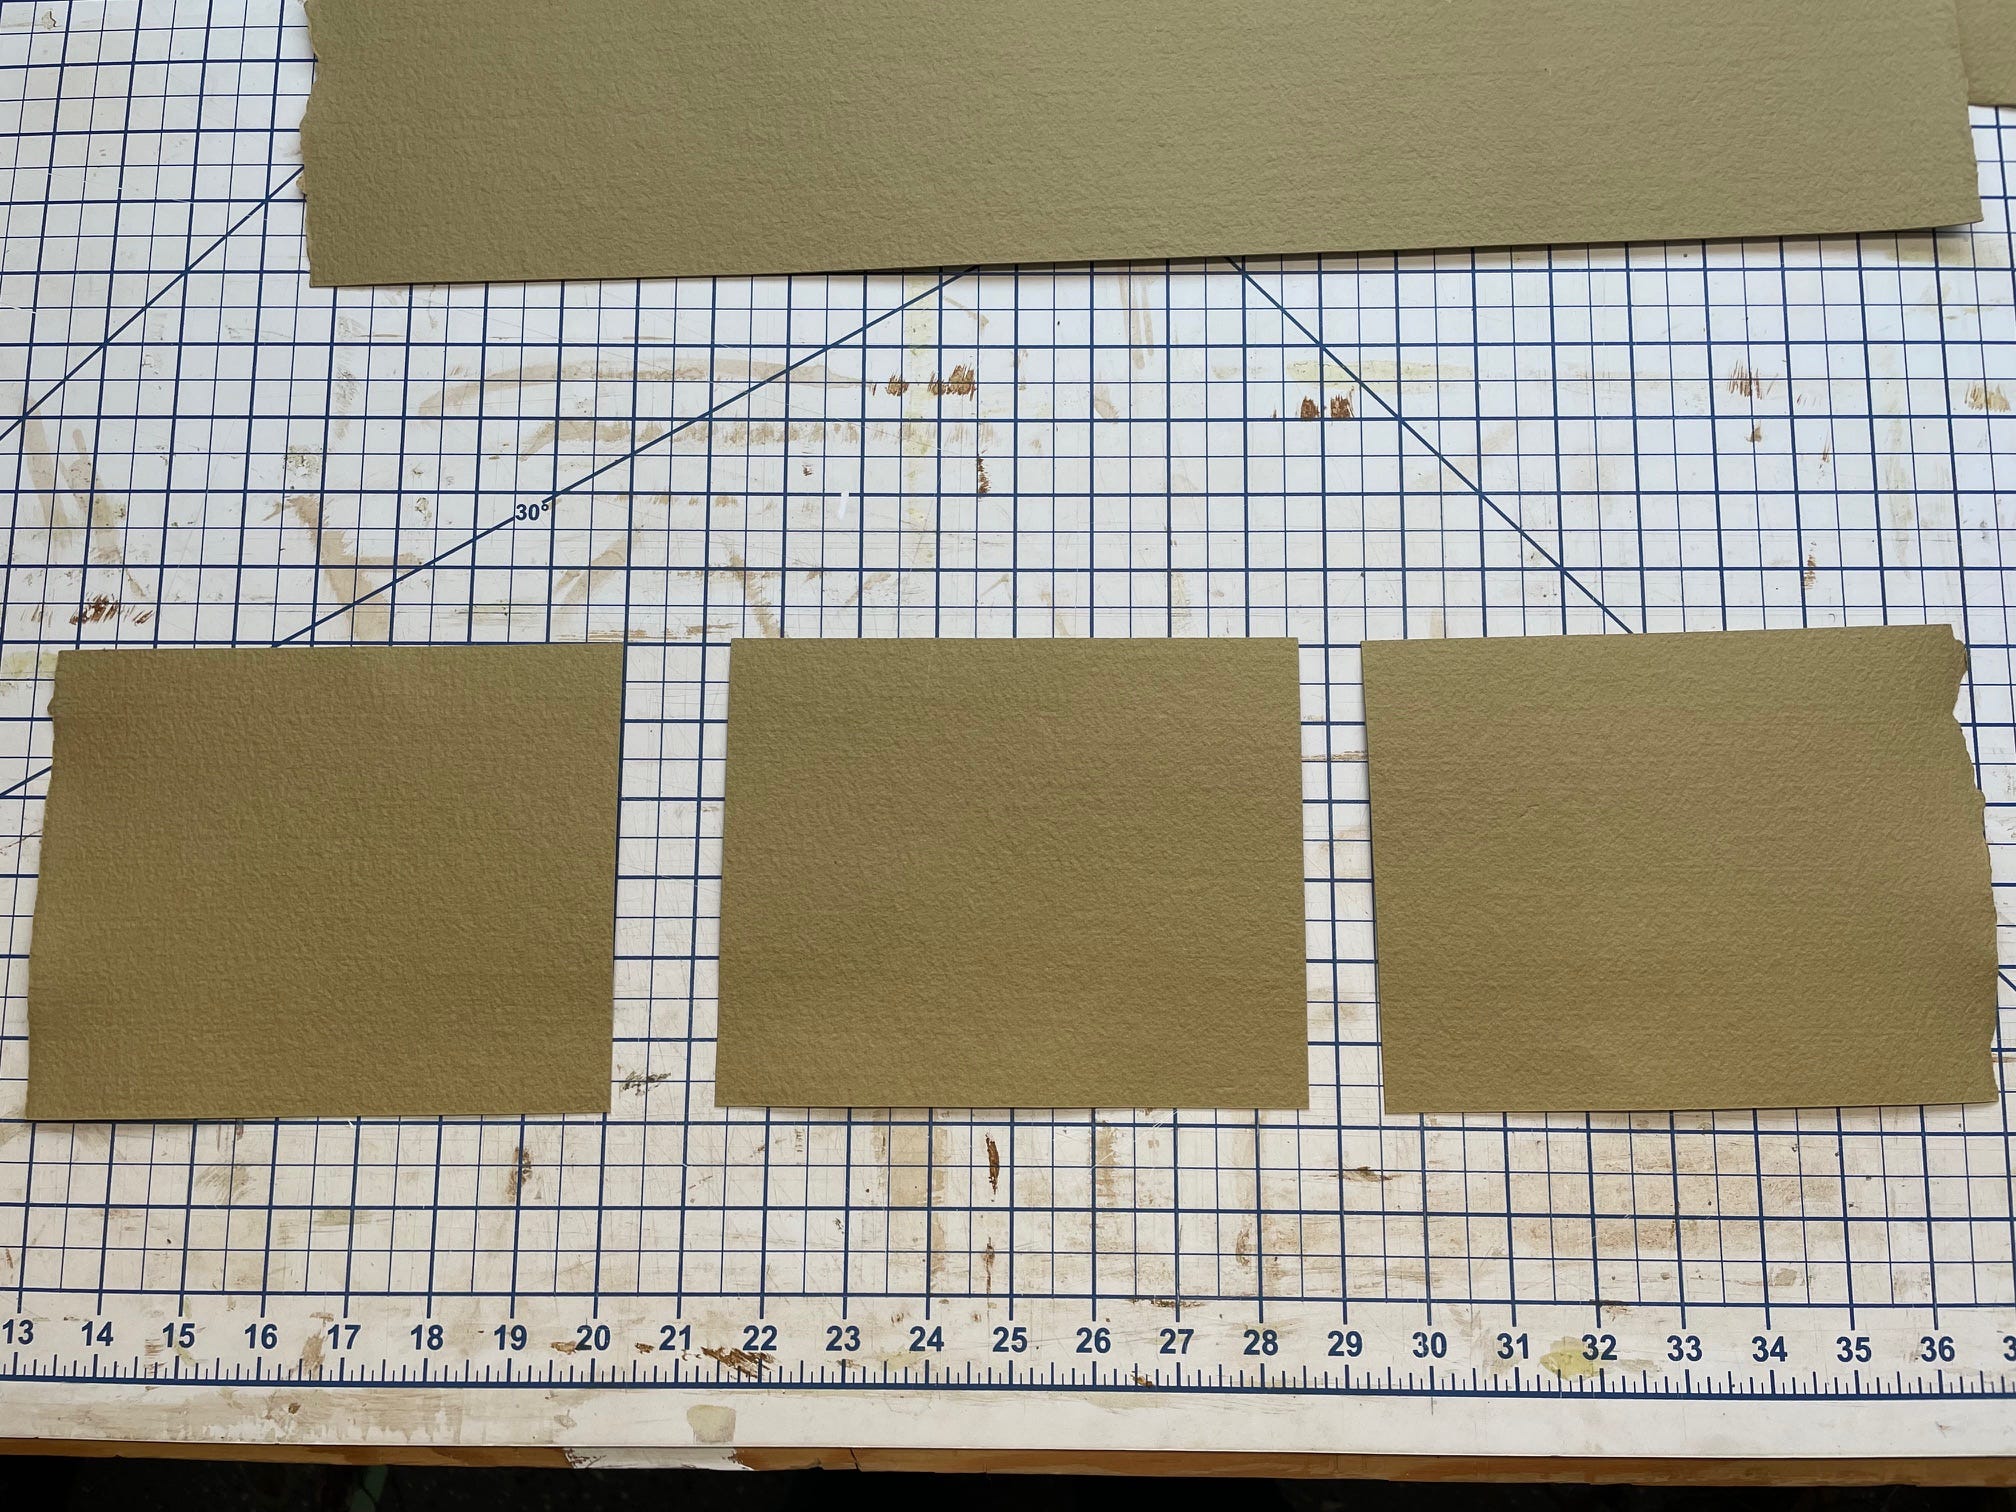
1. Cut the covers
I used St Armand paper for the covers. This paper is handmade (in Canada, I believe), largely using recycled cotton from old shirts. It’s beautiful stuff. It takes ink and watercolor well, if you want to decorate. I’m not sure how well it will hold up at the hinge, but I am optimistic.

This is half a sheet, which I further cut into strips and then rectangles. I keep it all slightly larger than the finished size (5.5”x7”) so that I can do final trimming later. Fold the covers in half.
2. Cut the text blocks
Next up, cut the text blocks, aka the paper inside. My used-up notebooks used 12 sheets of paper, folded in half. The 5.5” height is perfect, because it allows me to use regular 8.5x11 paper cut in half. This also means that the grain will be running the right way: along the spine.
To find the grain of a piece of paper, gently fold it one way and then the other. There will be less resistance in one direction. That’s the proper orientation to fold along. It will keep the project from warping in the wrong direction. In my experience, most hand-made papers don’t have a grain, so our covers are okay either way.
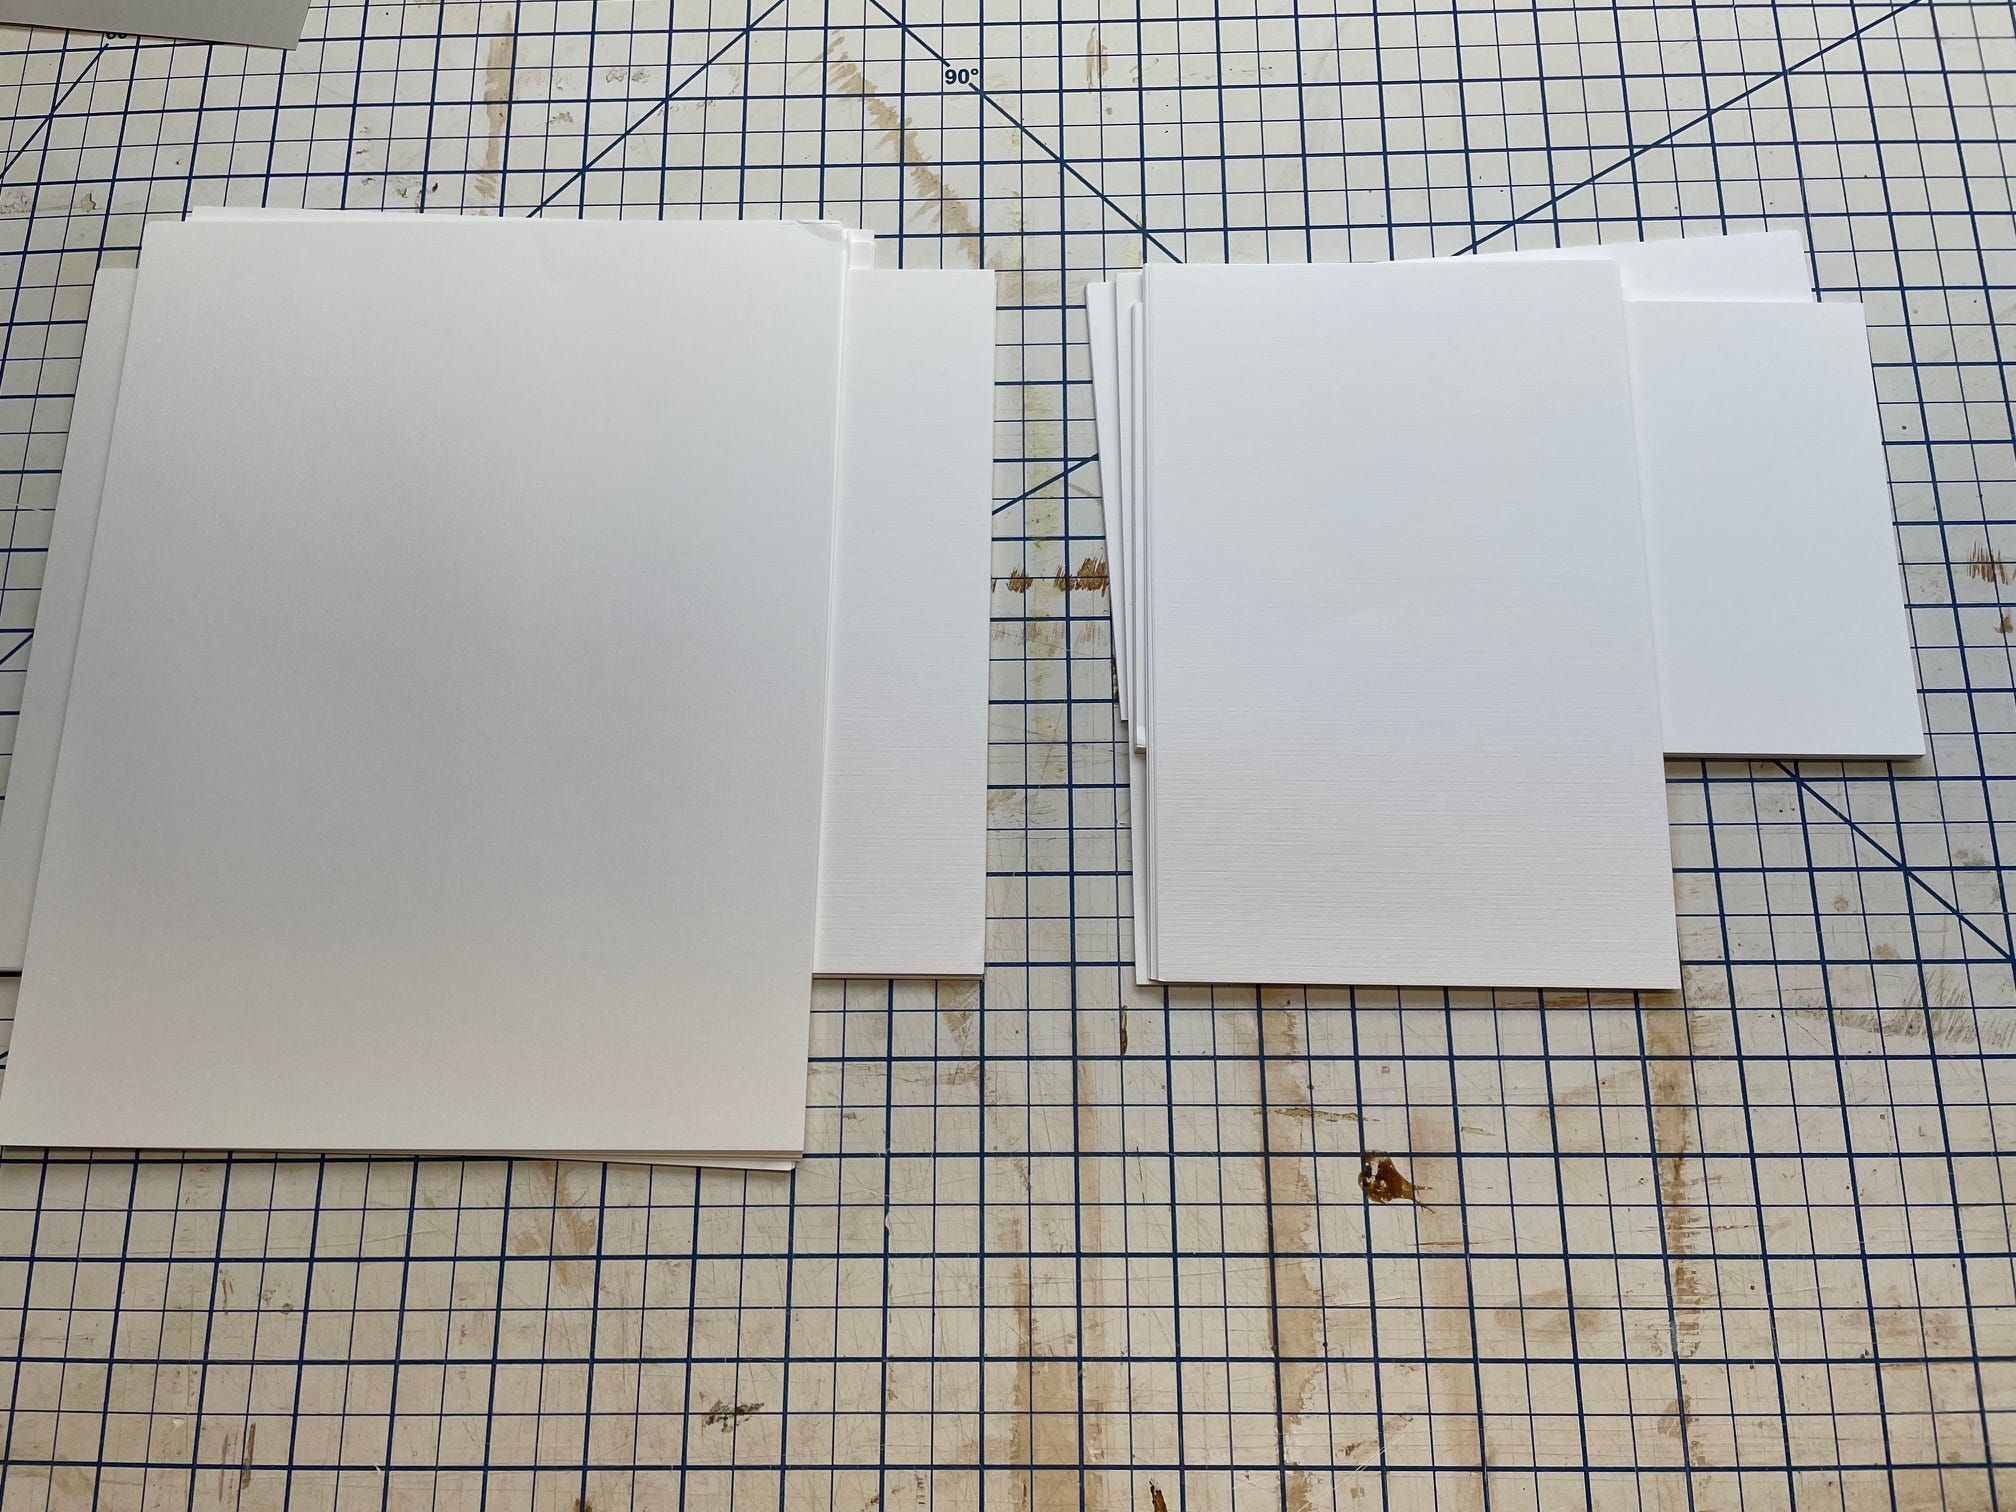
Once the paper is cut, fold it in half and crease the fold.
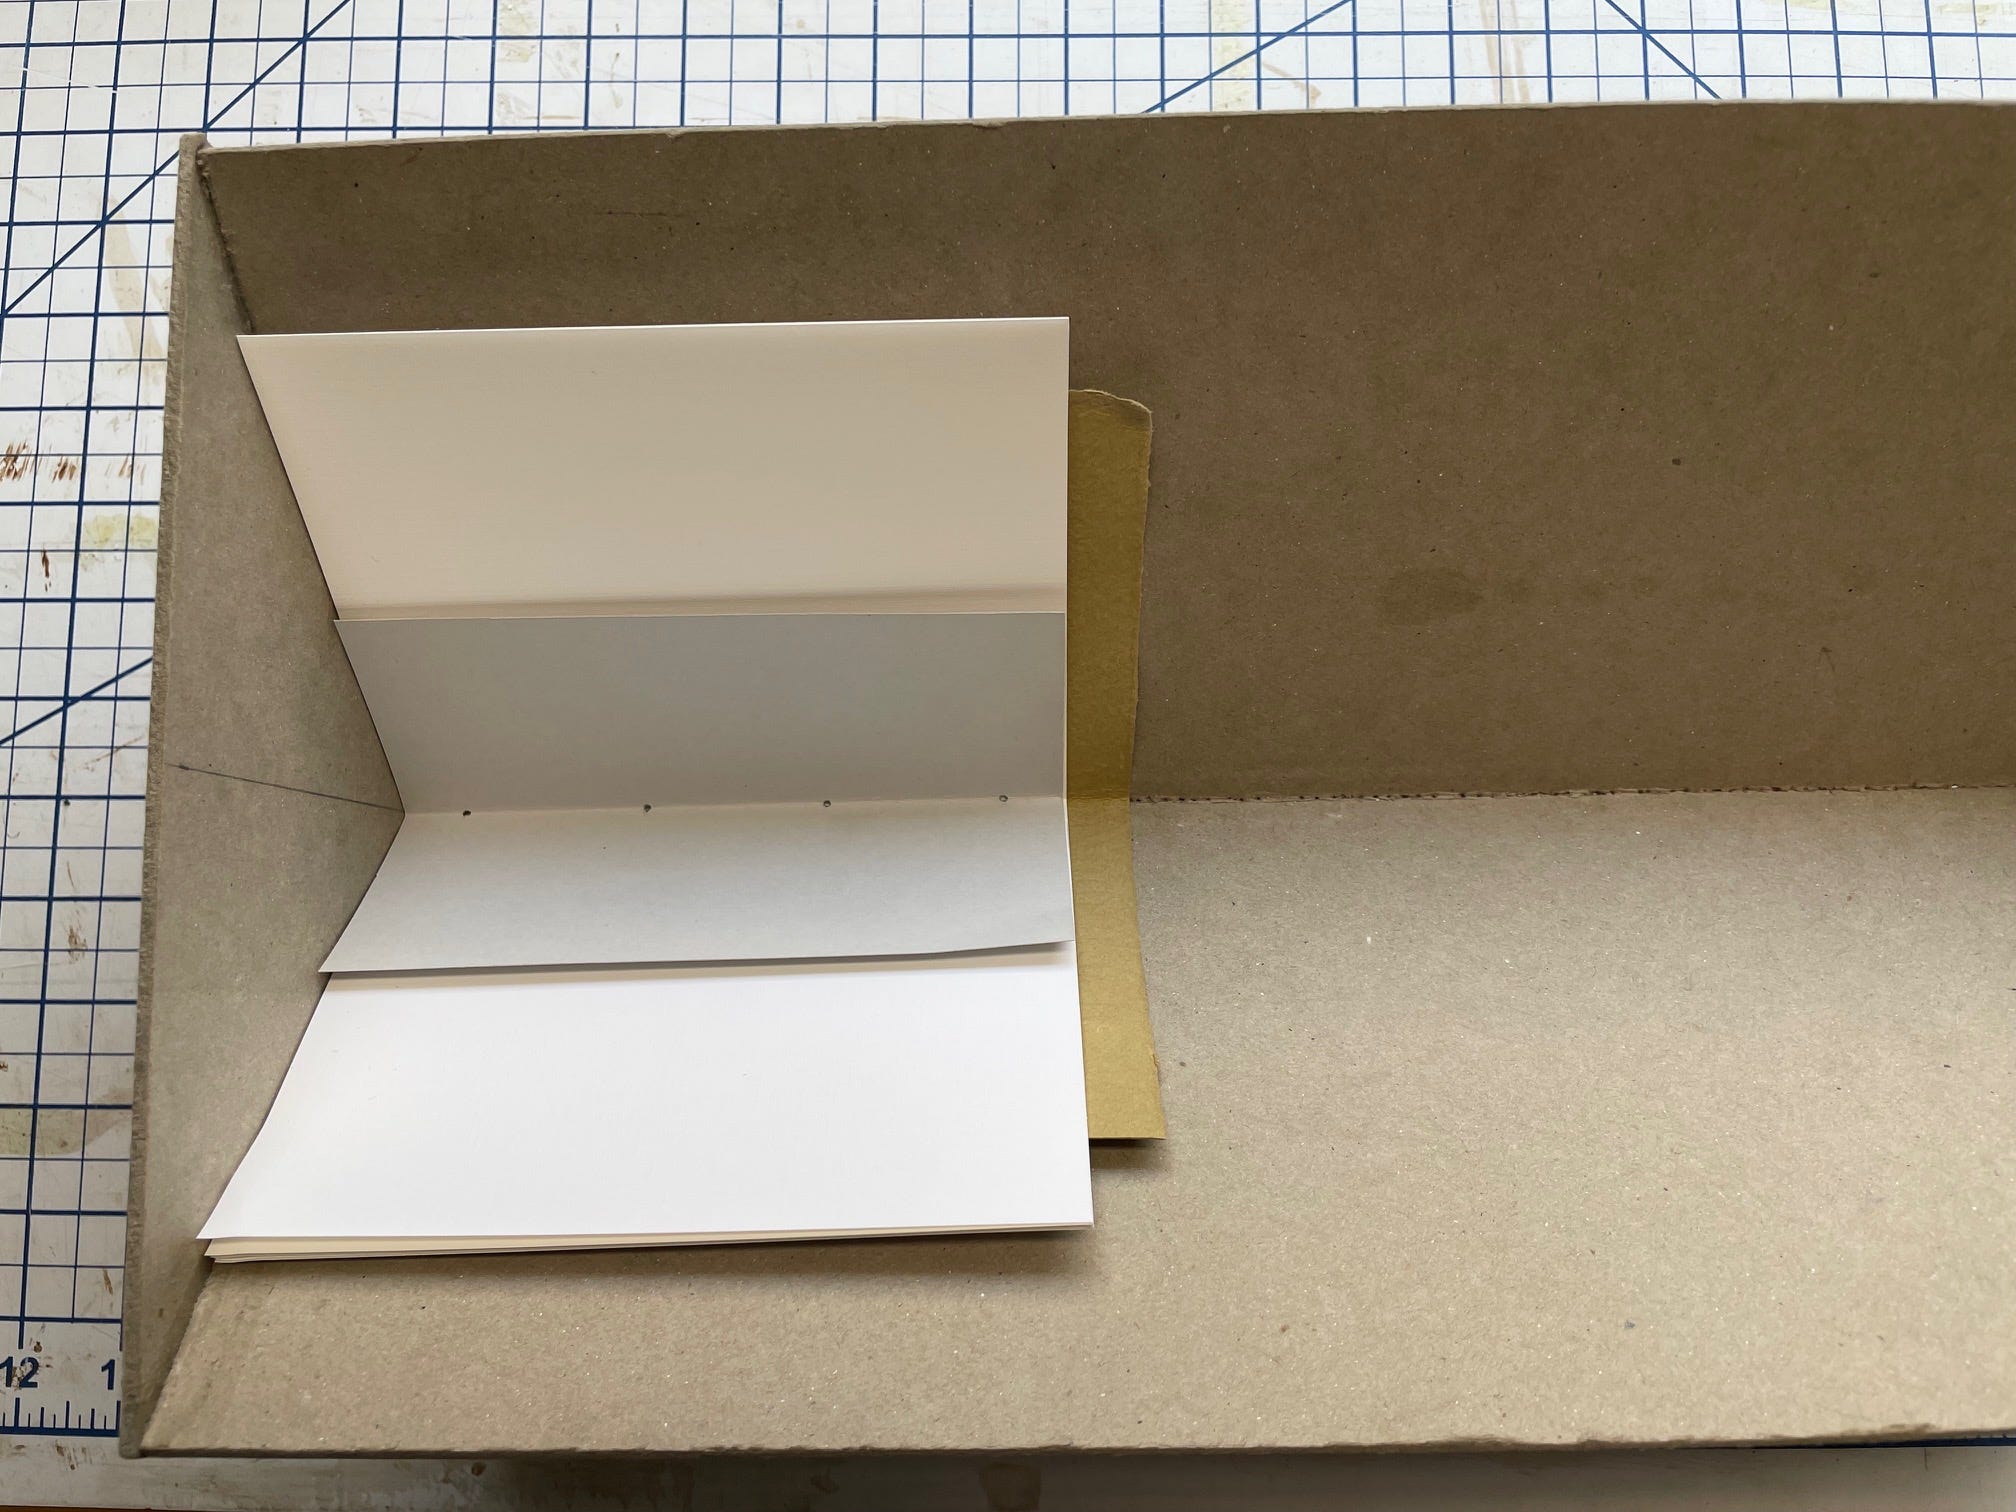
3. Punch holes
Now put your text block into your cover and tap it down so they are flush on either bottom or top.
Punch 4 holes along the spine from the inside. I use a sewing cradle for this, to keep everything lined up. They are not too hard to make and are worth it if you do a lot of binding. I also marked my holes on a template so I can get reproduceable results, but you can eyeball it. Use a needle, awl, or something else pointy to pierce the sheets.
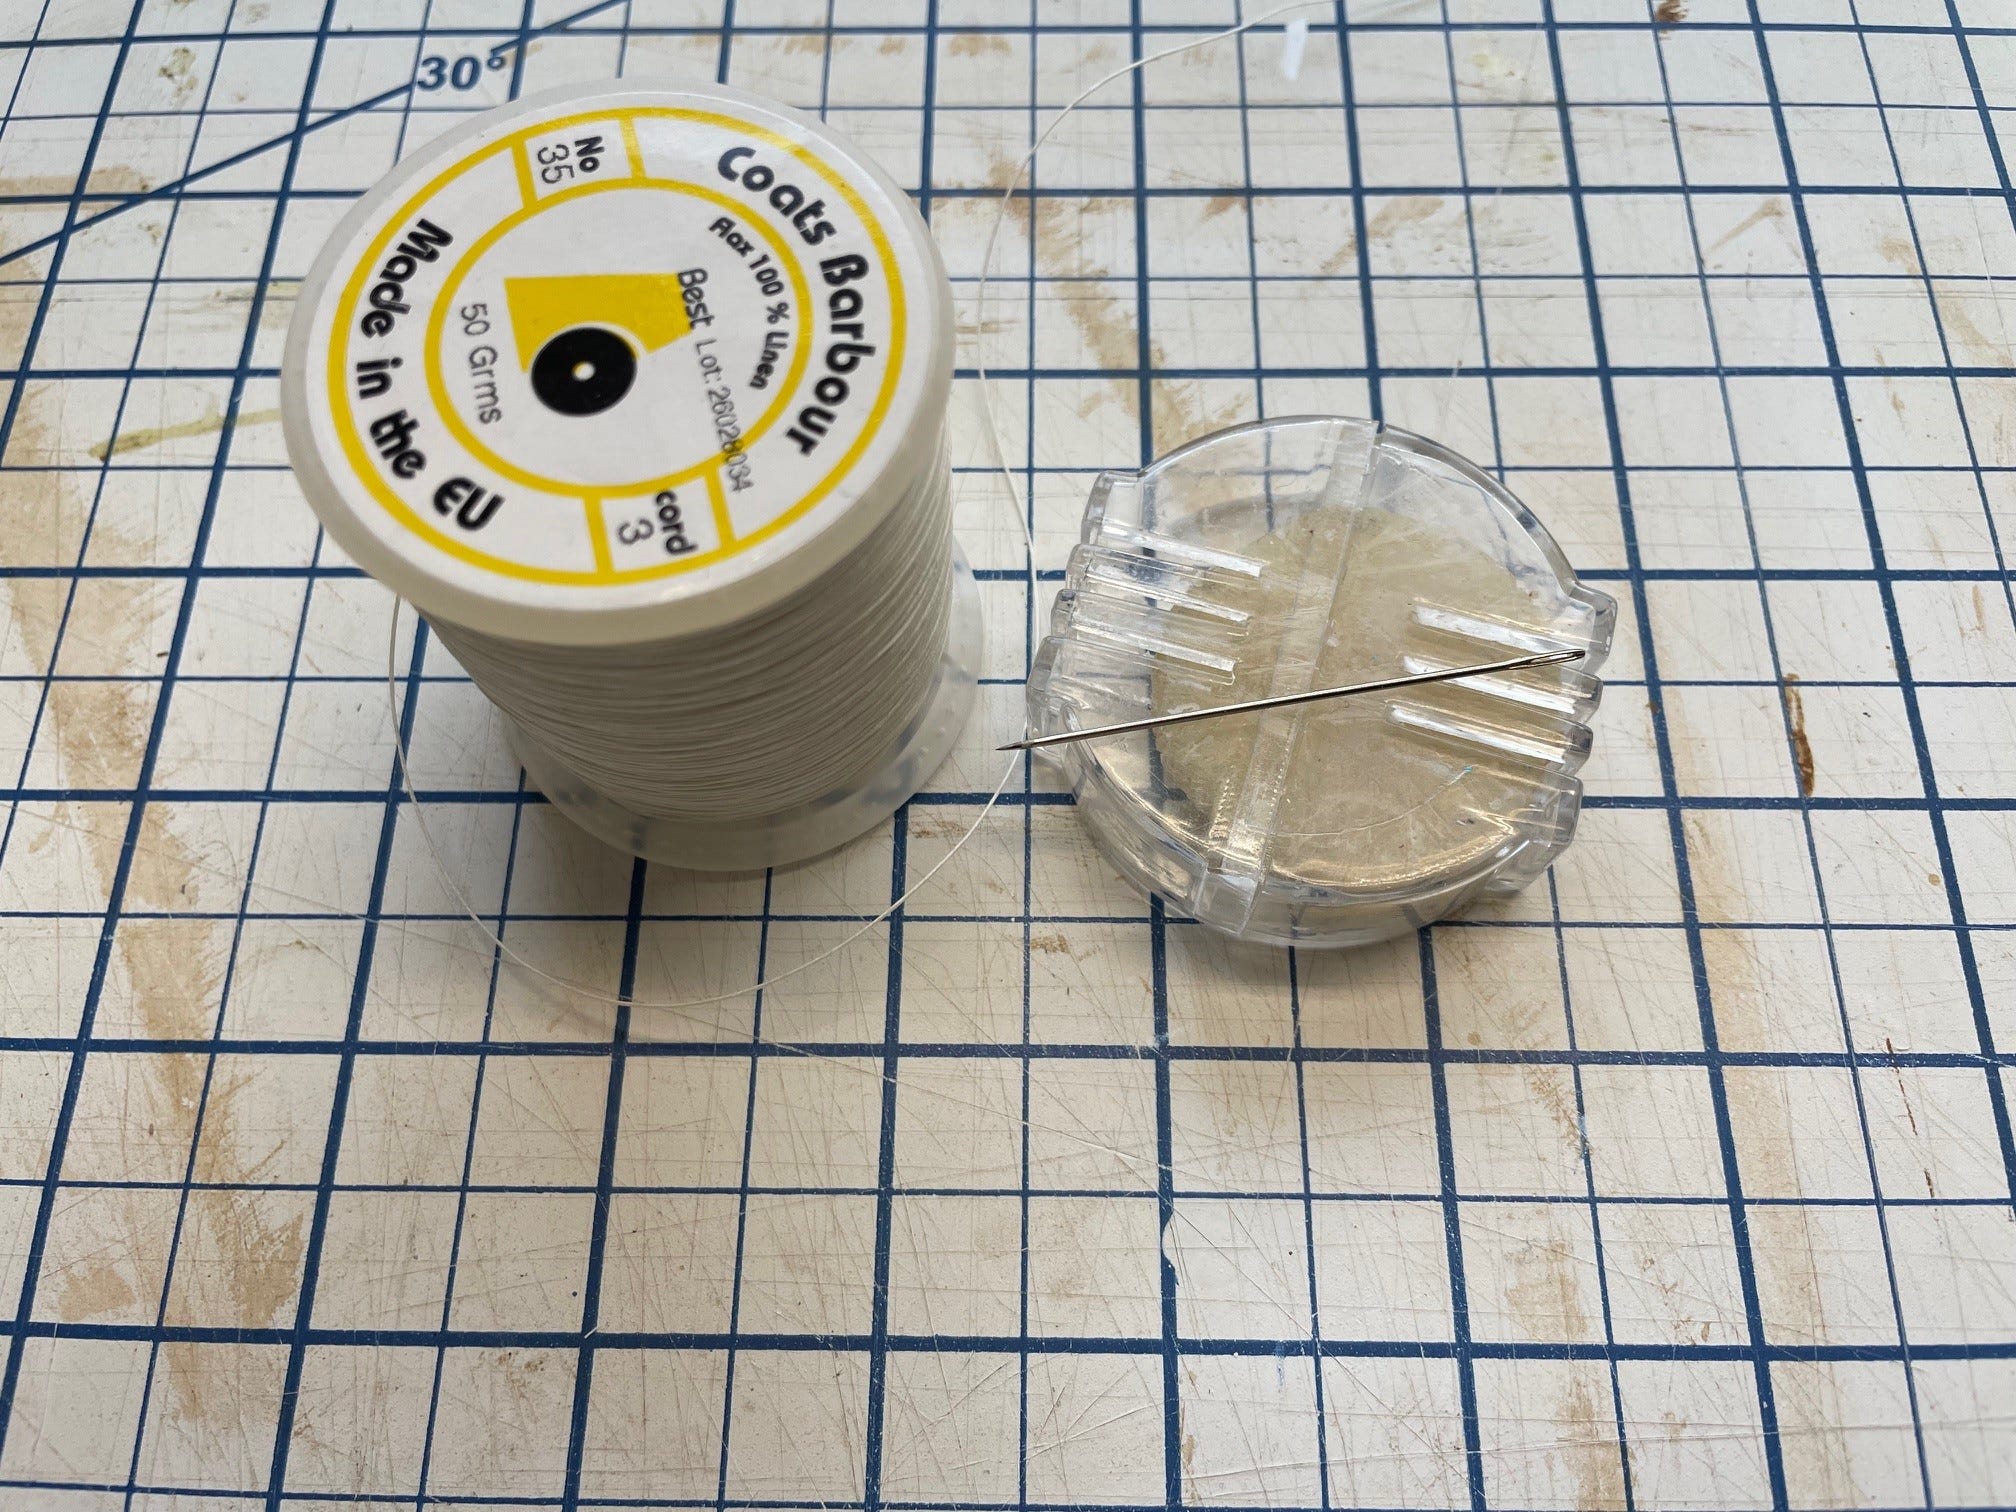
4. Sew the book
I used linen thread, rubbed with beeswax, to sew my books. Linen thread is durable while still being natural, and the wax helps it from sliding around. But you can experiment with whatever you have at hand.
Start at the second hole, stitching from inside out. Go to the third hole, come back up, then down through the fourth hole. Work back the opposite of the way you came until both ends of the thread are on the inside at holes 1 and 2. Tie them together with a square knot.
The book is made! Now time to trim it up.
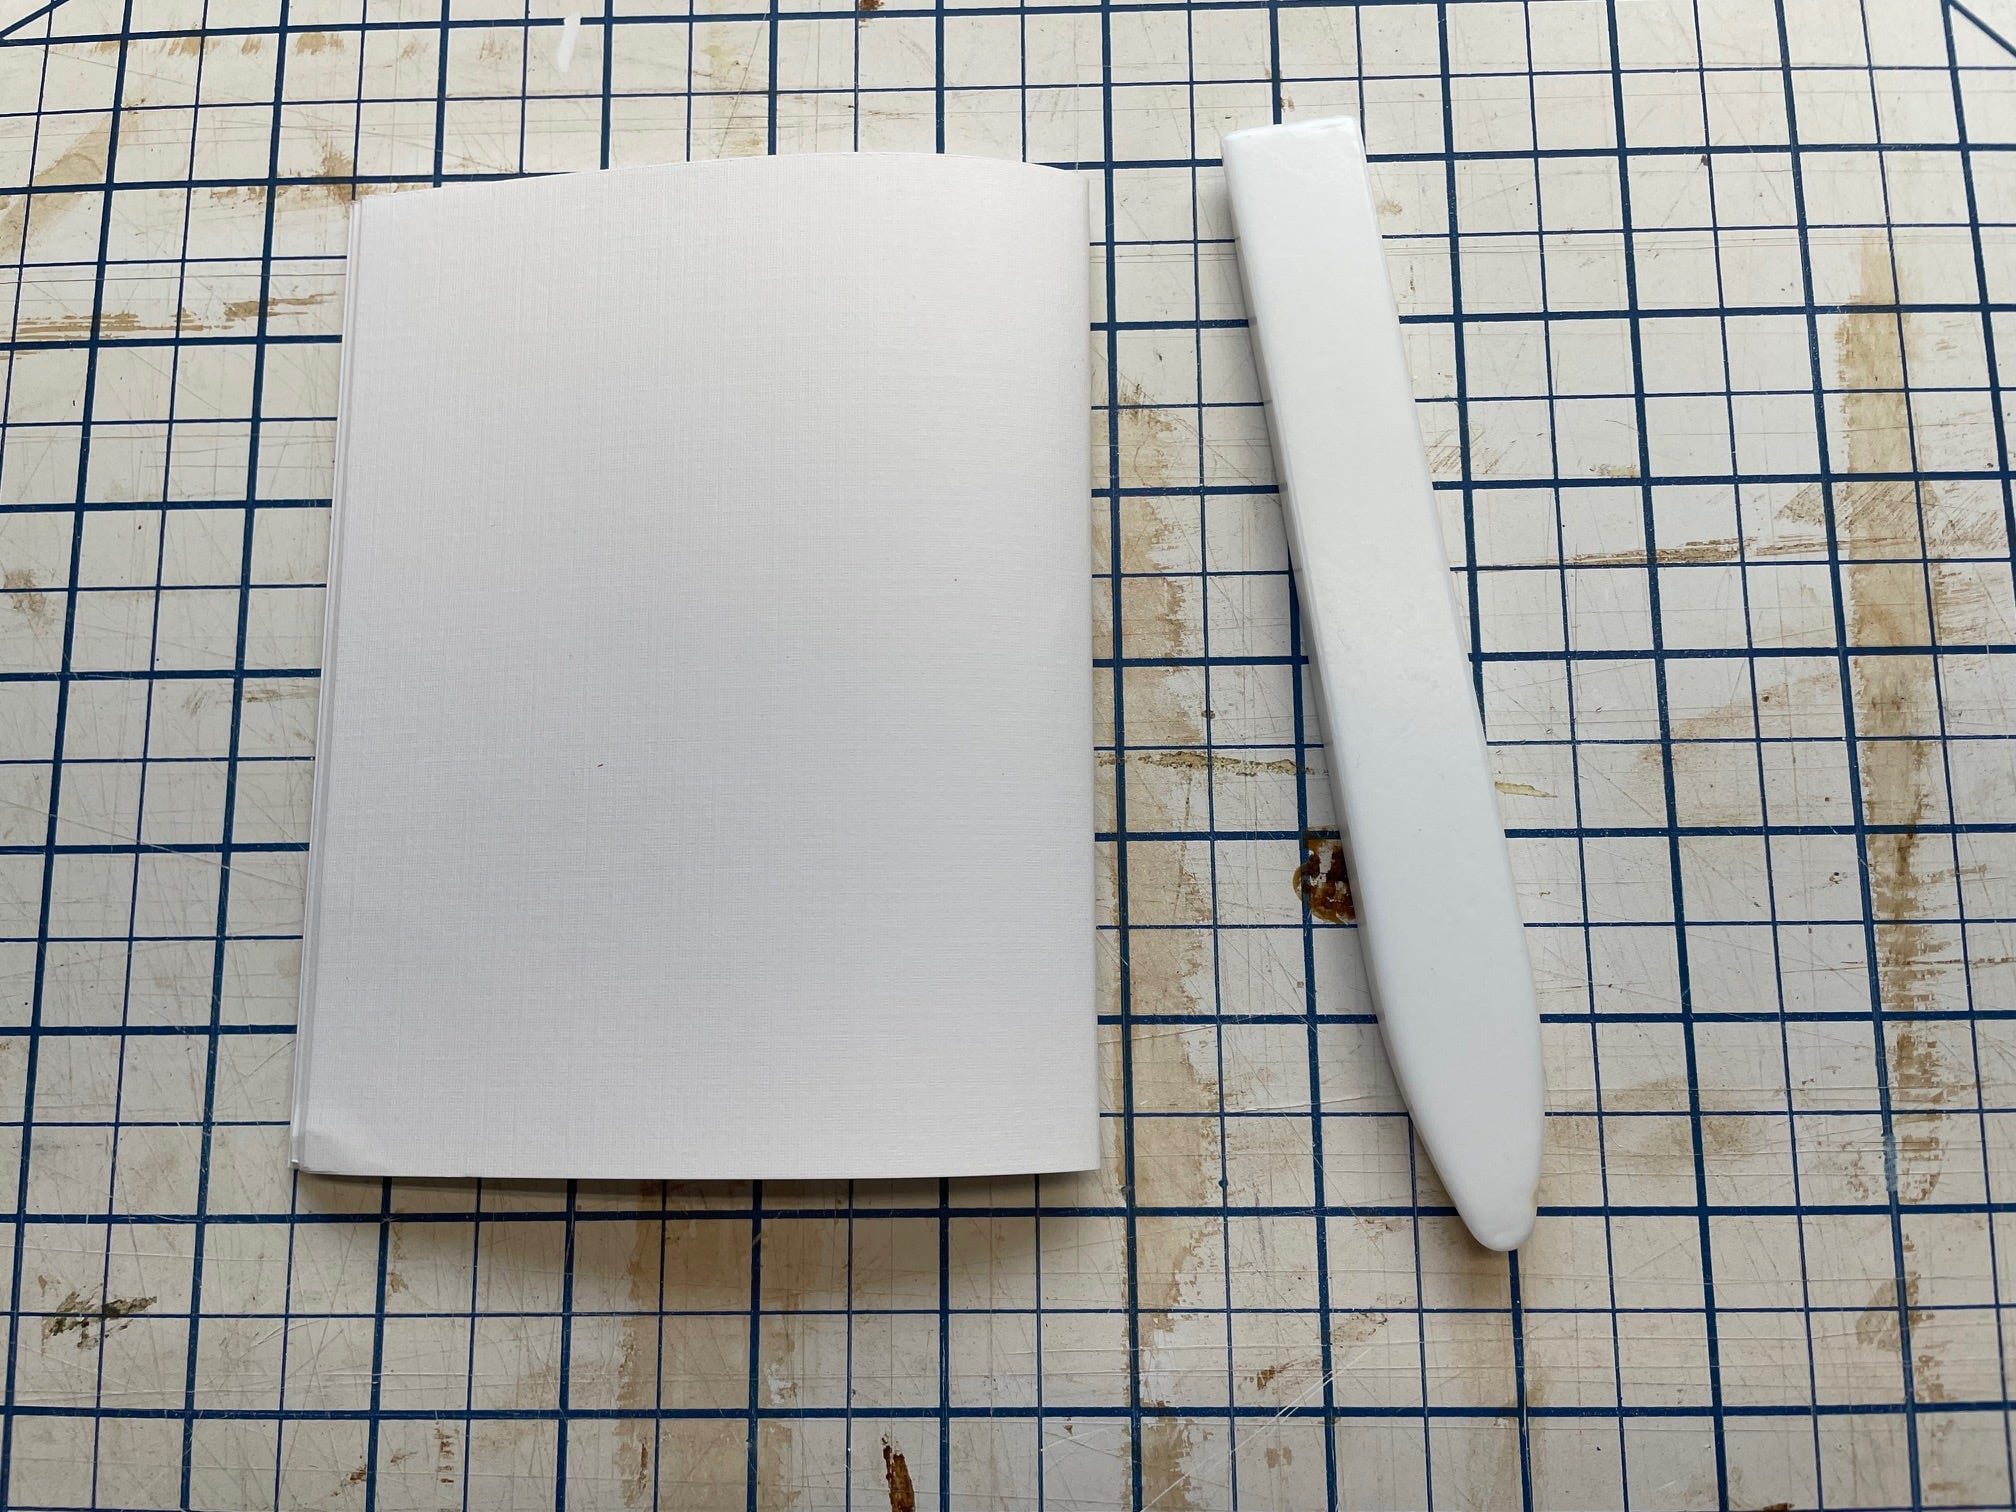
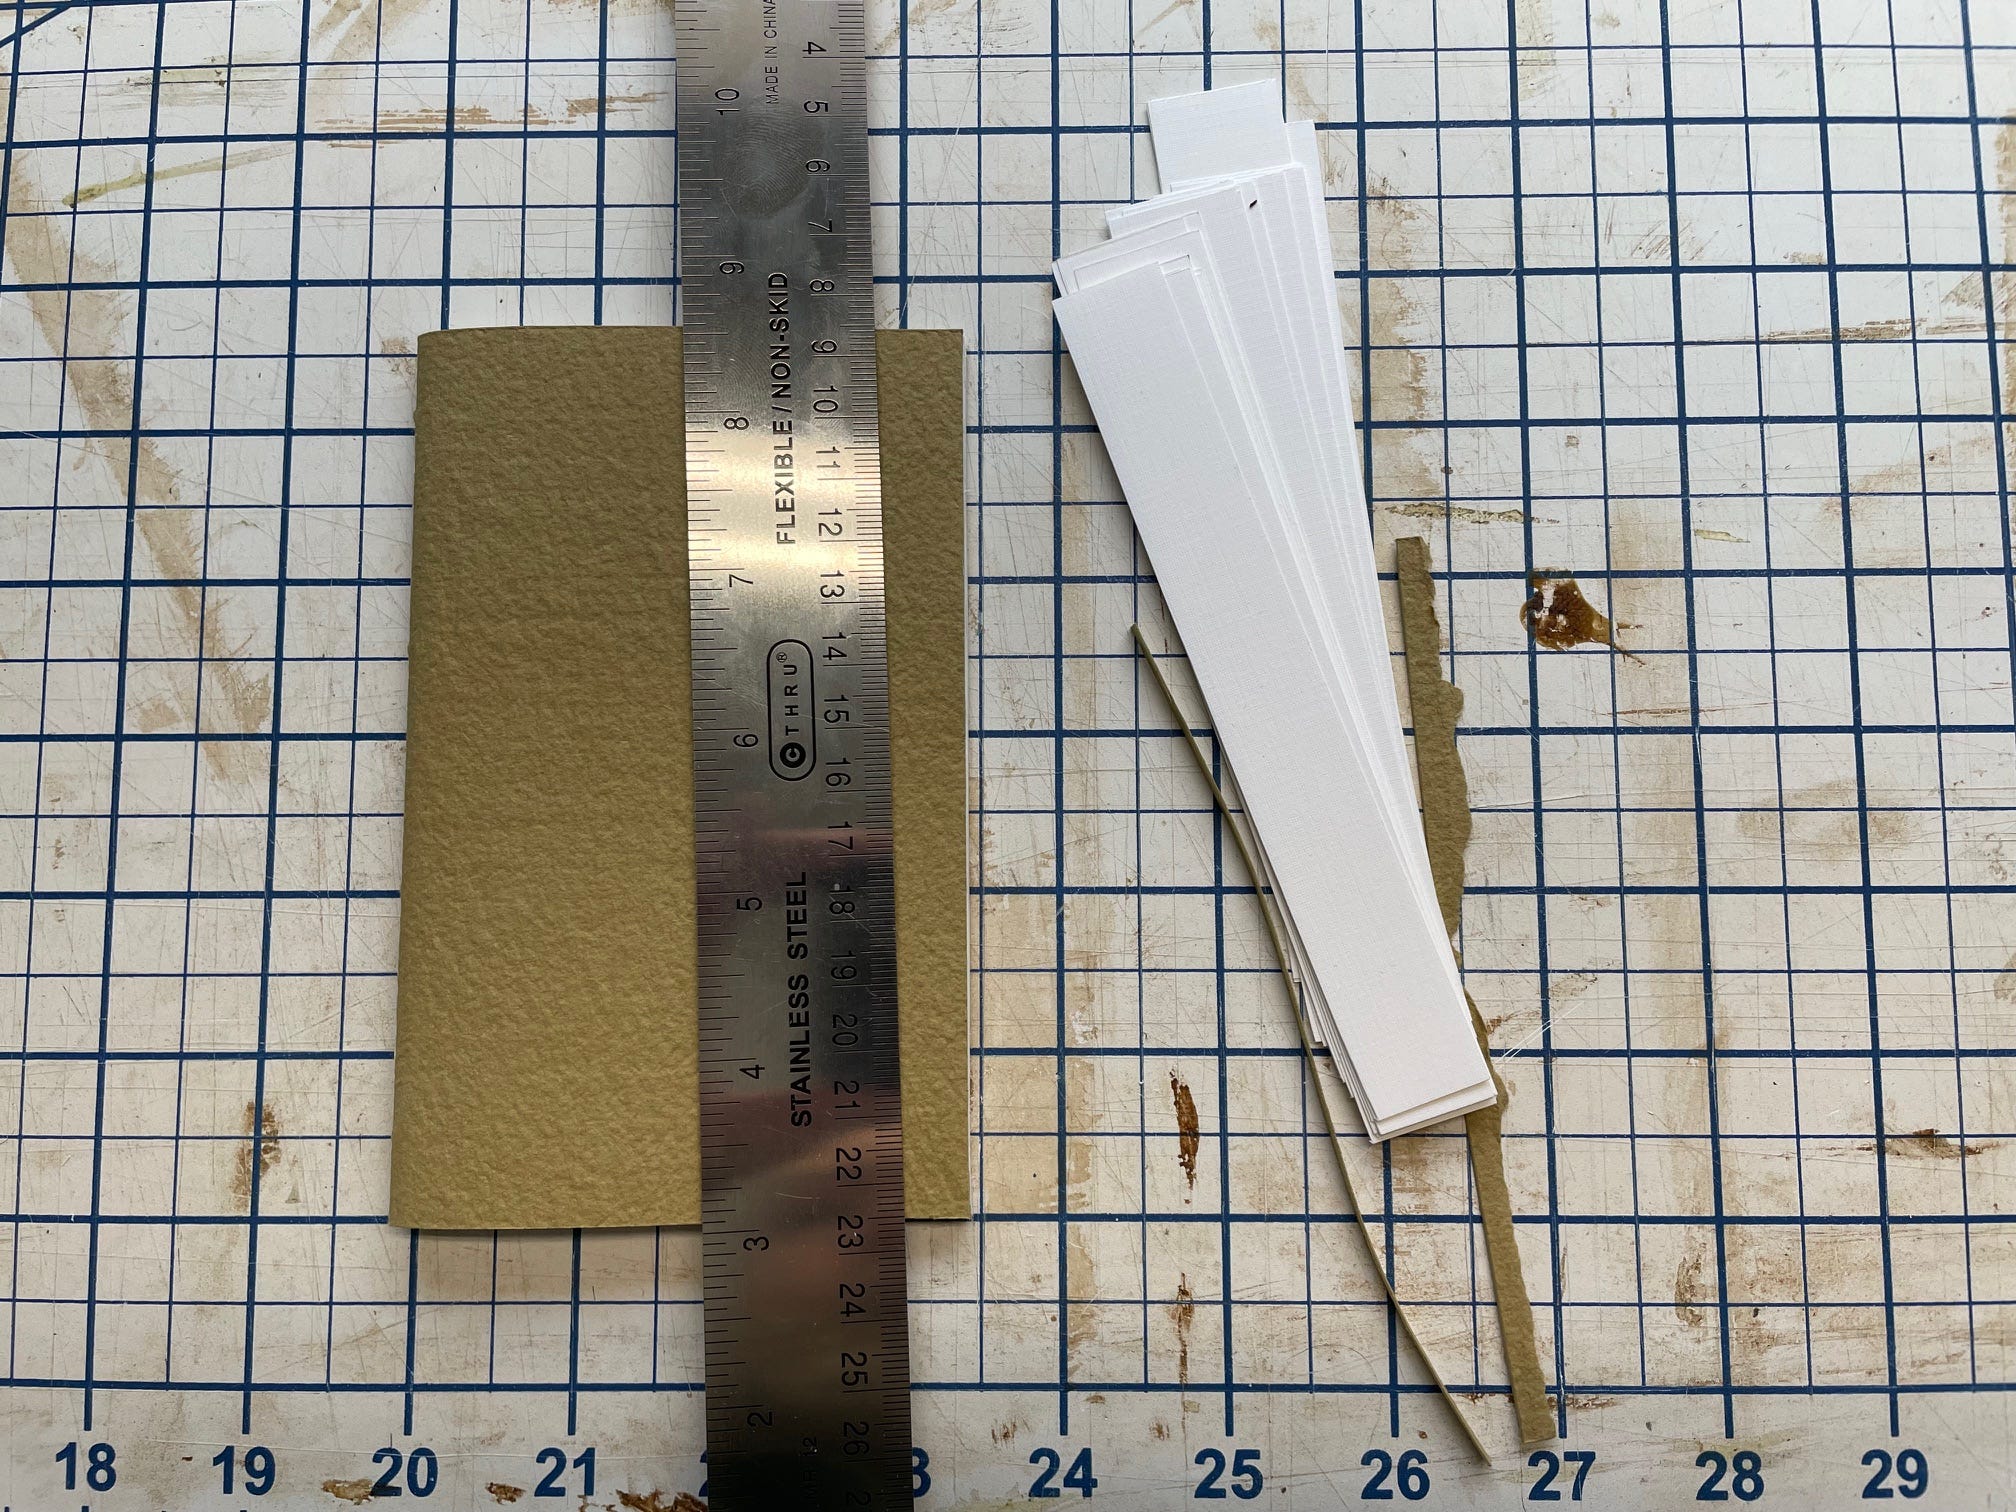
5. Trim the edges
Using a sharp blade, trip the overhanging top of the cover flush with the text block. (See image in Step 3 for details)
Then, measure 3.5” from the spine on top and bottom, line up a ruler, and trim the entire book to size.
6. Round the corners (optional)
Most notebooks of this style have rounded corners. You can leave them square or cut an angle across the corners. You can also round them freehand or use a coin as a guide. I have a woodcarving gouge that makes a nice corner, so I repurposed that.

Enjoy your new notebook!
That’s it. It’s pretty easy.
If you like the look of the ones I made, you can can buy a set of 3 here at my little store. I have a few colors available. Right now I only ship within the US, but I hope that changes soon.
Thanks! Please share and subscribe.
